Do you covet beautiful marble worktops? Are you jealous of bloggers who live in pristine white surroundings with shabby chic wooden floors? Have you ever wished you had more space or money to have an Instagram-perfect desk?
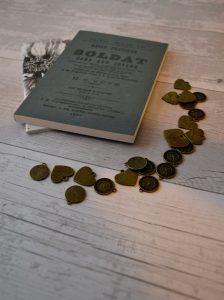 Even if you don’t have those things right now, here’s a quick run-down of how you can get the look you want for your photos without spending much money (or redecorating your whole home!)
You can use these props to create all kinds and styles of photos: the only limit is your imagination. If you run a business selling goods, these tips are ideal for staging your product photos. If you’re a blogger, you can jazz up product reviews easily or create stock images that match your brand perfectly. This is also a great excuse to buy props you like and create the exact look you want, helping you create consistency and match colors easily across your website and social media.
Let’s do this!
(Note: All the finished photos in this post, including the one above, are free for you to use as long as you don’t redistribute or sell them. Just click to download!)
Currently reading: How To Cheat Your Way To Pretty Flatlay Backgrounds Share on X
What you’ll need
- Any camera – I used a basic DSLR to take the photos in this post, but honestly, your phone or a point and shoot will do.
- Good lighting conditions – I stand with a window on my left side; side light usually works better. I also have a cream curtain that softens it, but you could use a reflector or just move around until you’re happy with the shadows on your images.
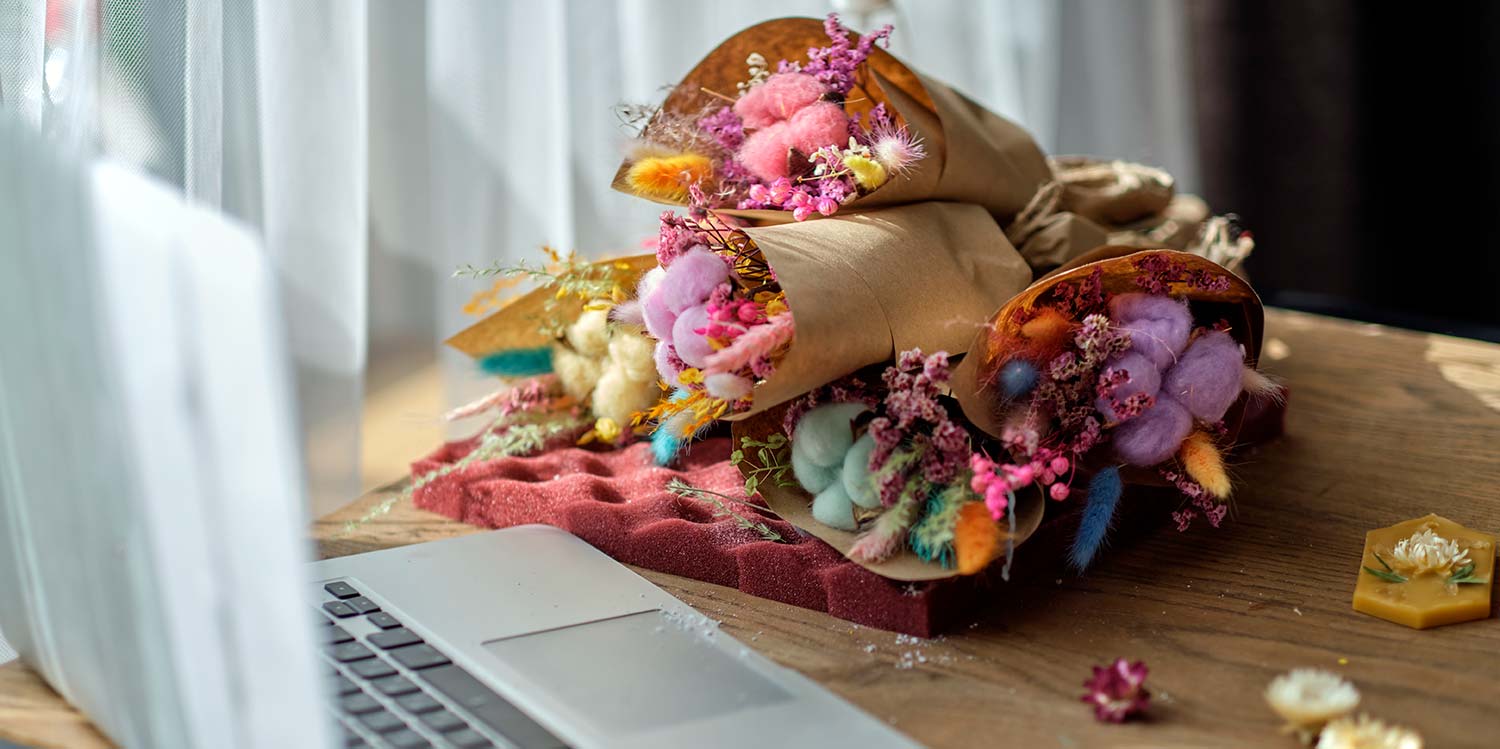
- Props for your photos – Products, stationery, electronics, flowers, or anything you like. Of course you’ll need your background props too, which is the main part of this post!
Flatlay Background Prop Ideas
All these items can be bought on eBay, Amazon, or from your nearest DIY or craft store. Storing them is super easy – just roll them up and put them in a poster tube or secure with an elastic band.
Vinyl (aka sticky back plastic)
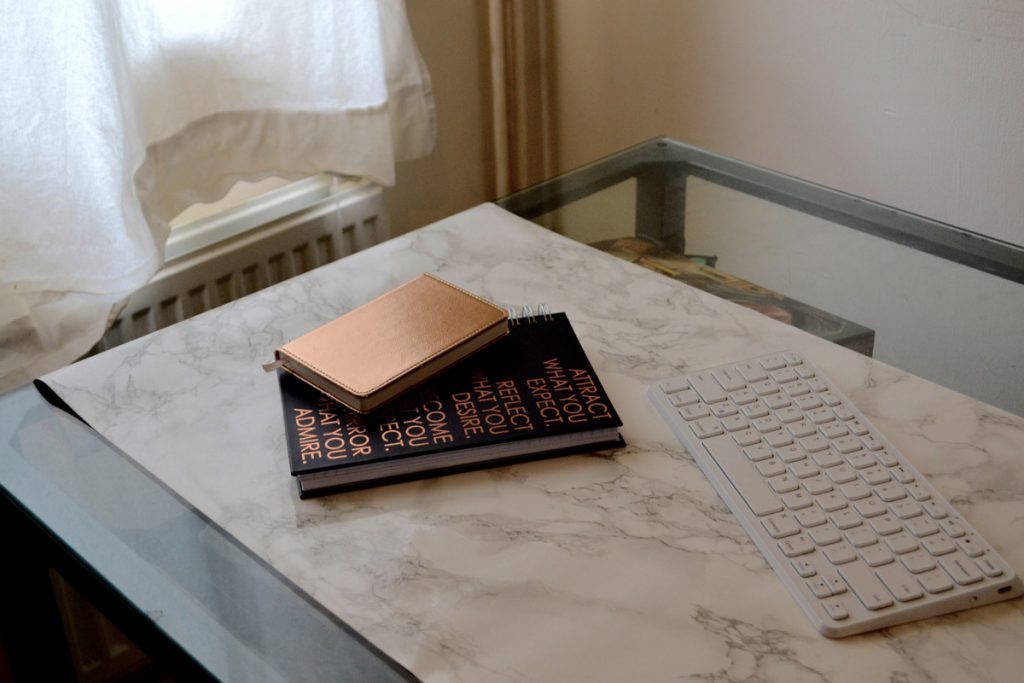
If you want to create a marble background flatlay, vinyl is my go-to because you literally unroll and go. The vinyl is typically made for people to actually cover their work surfaces and have it look realistic, so the patterns tend to be pretty good. You can buy marble tiles if you prefer, but the downside is that they’re heavy and harder to store.
Finished image (download the full set of photos here for free):
Behind the scenes:
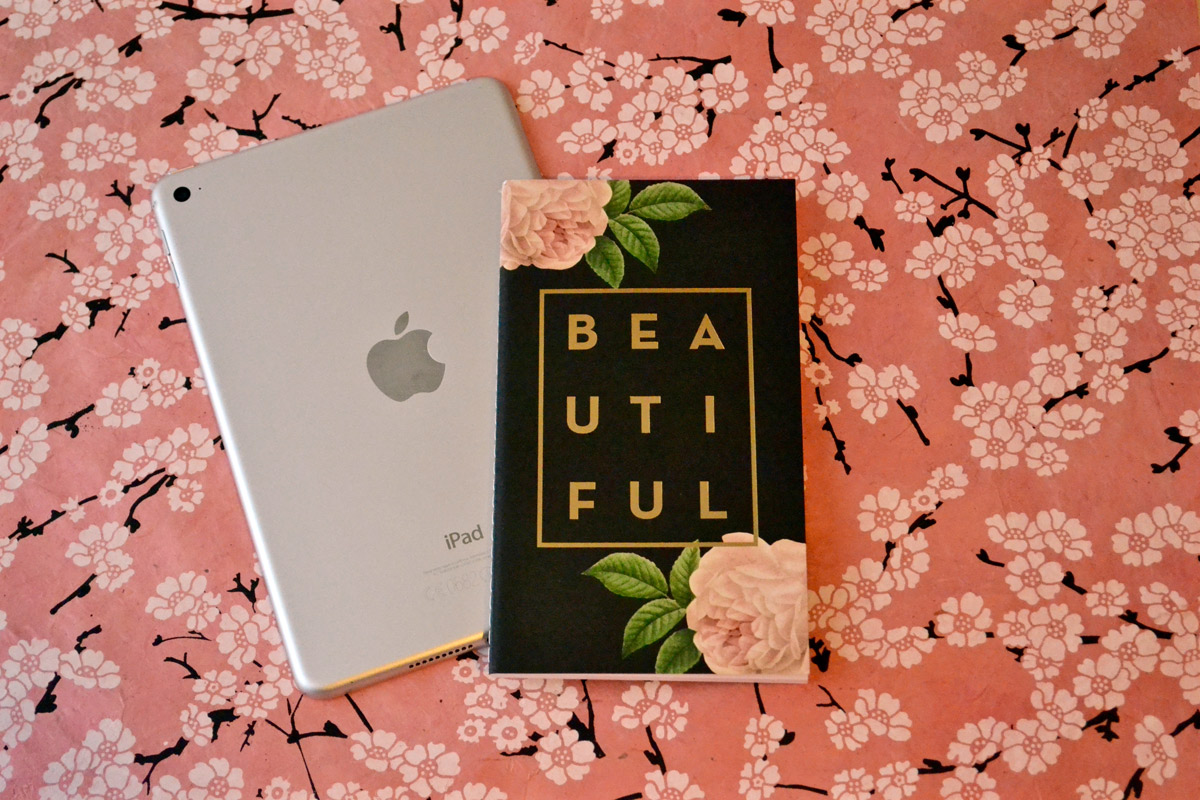
Wallpaper
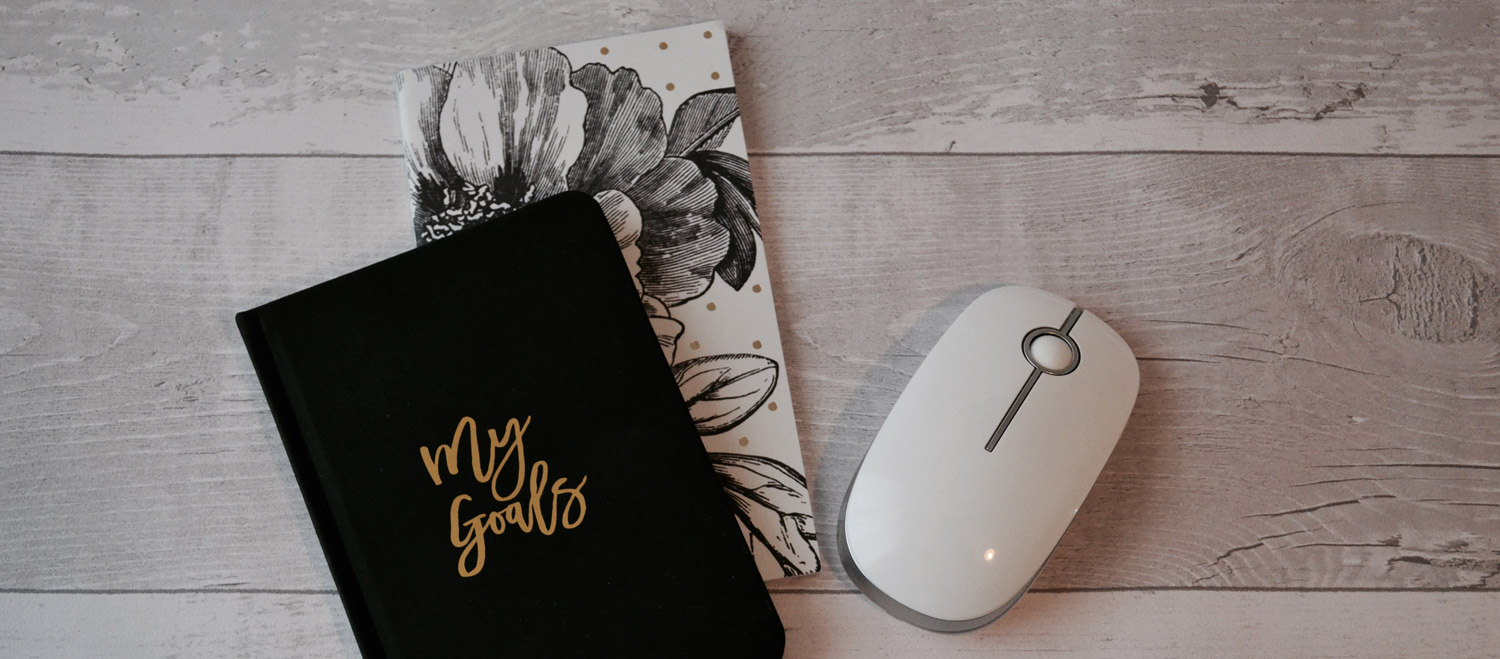
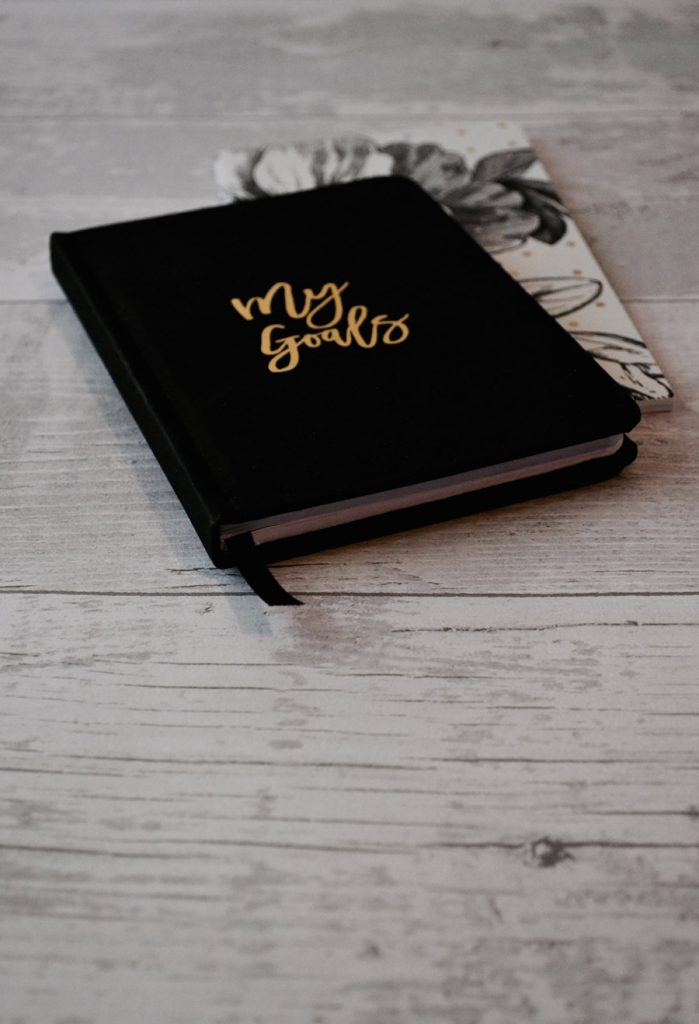
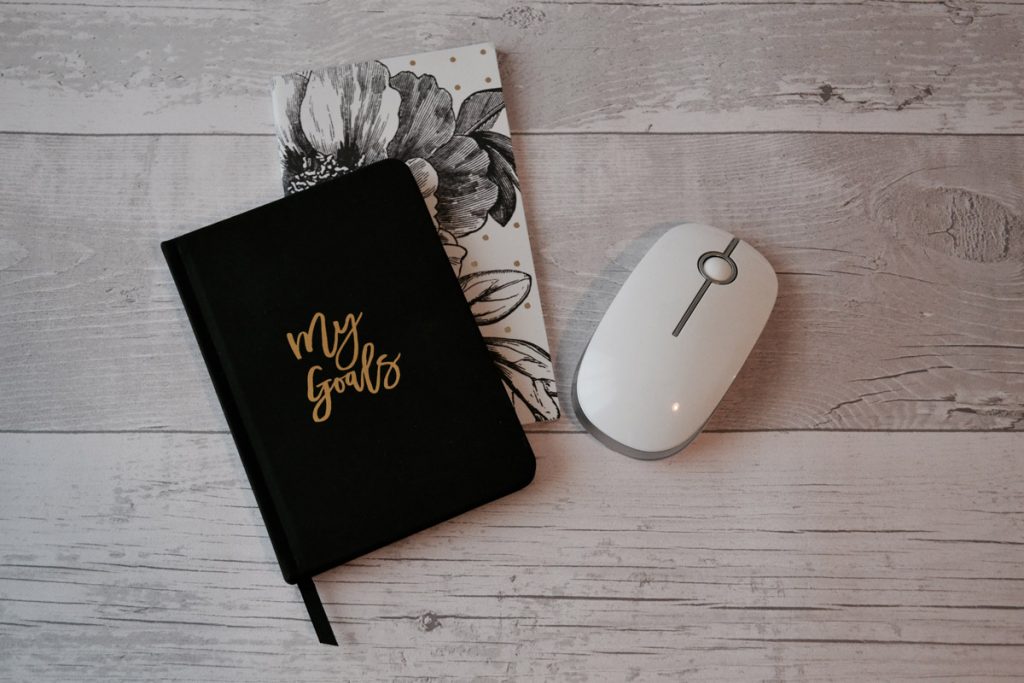
Wallpaper is great if you want a matte look for your background that doesn’t detract from the props. There are literally millions of design options, so you can go very simple or use a pattern. I’ve used a wooden floorboard effect here.
Behind the scenes:
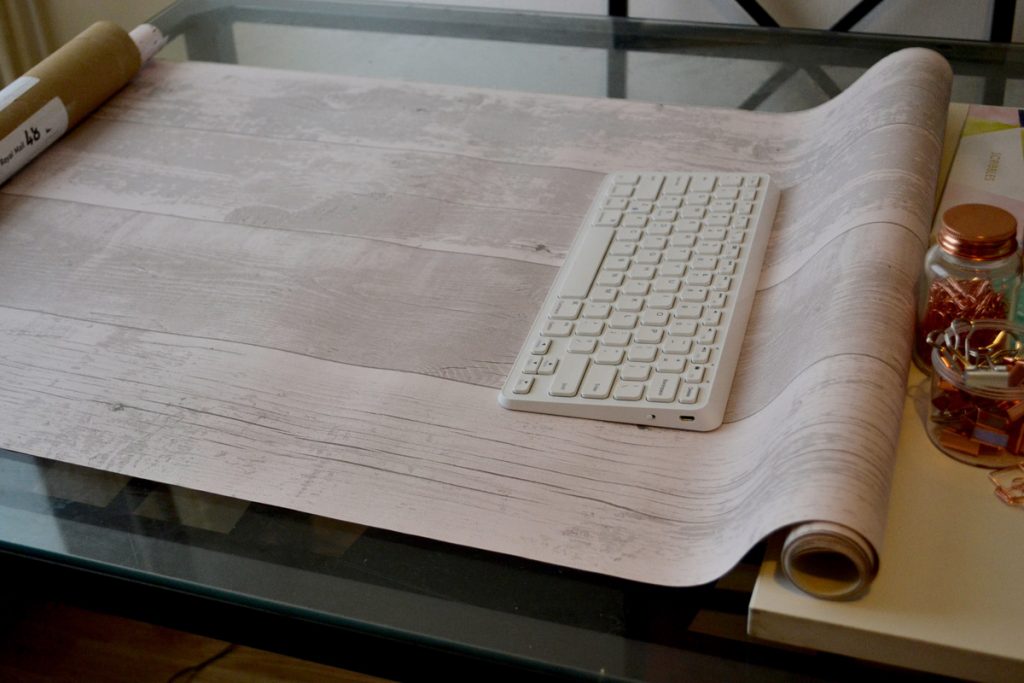
It’s also your best bet if you want to cover a large amount of space because you have a lot of props or you’re photographing larger things. Many stores also offer free samples of wallpaper, and you can often get cheap samples on eBay, so you don’t have to buy a whole roll.
Finished images (click to download):
Scrapbook Paper
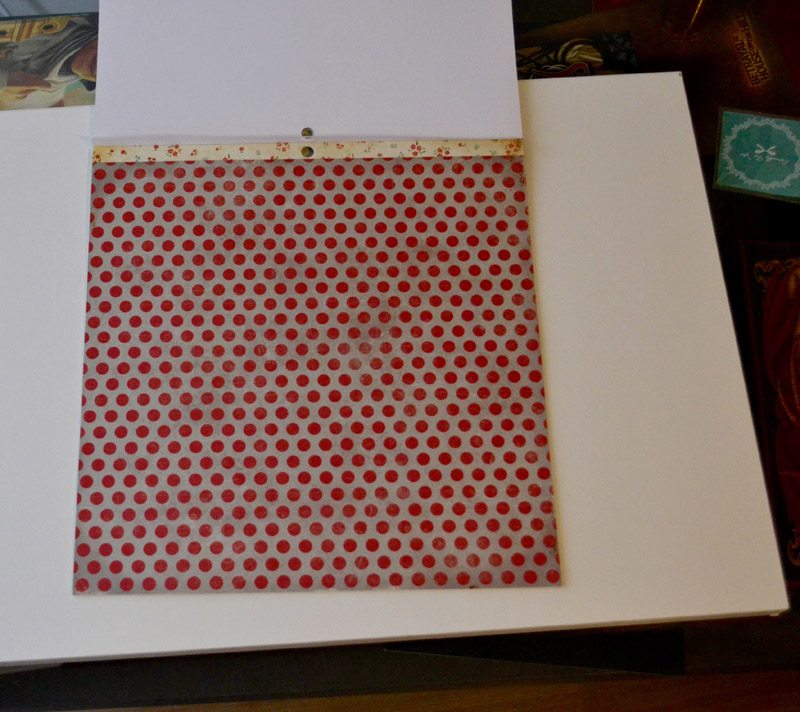
This is perfect if you want a lot of different designs for your backgrounds. They come in big square pads, so they’re easy to store, but the downside is that you may be pushed to fit bigger props in the space.
You can often buy scrapbook pads by color or theme, so they’re ideal for quickly creating a lot of consistent-looking stock photos for your brand.
Behind the scenes:
Finished photo (download in a click):
Handmade Paper
Slightly harder to work with and store, these beautiful papers have the advantage of adding more texture to your backgrounds. They can also be layered with plain card or paper to create different overlaps and color effects as they tend to be slightly transparent. It’s worth buying this in person rather than having it shipped to you so you can pick sheets in good condition.
Behind the scenes:

Finished image (click to download):
Extra flatlay background ideas
Once you start looking, you’ll literally see ideas for backgrounds everywhere. Lego bricks, your local coffee shop’s tables, matte-finish wrapping paper, cutting mats, dotted or squared paper…whatever you can think of, give it a try!
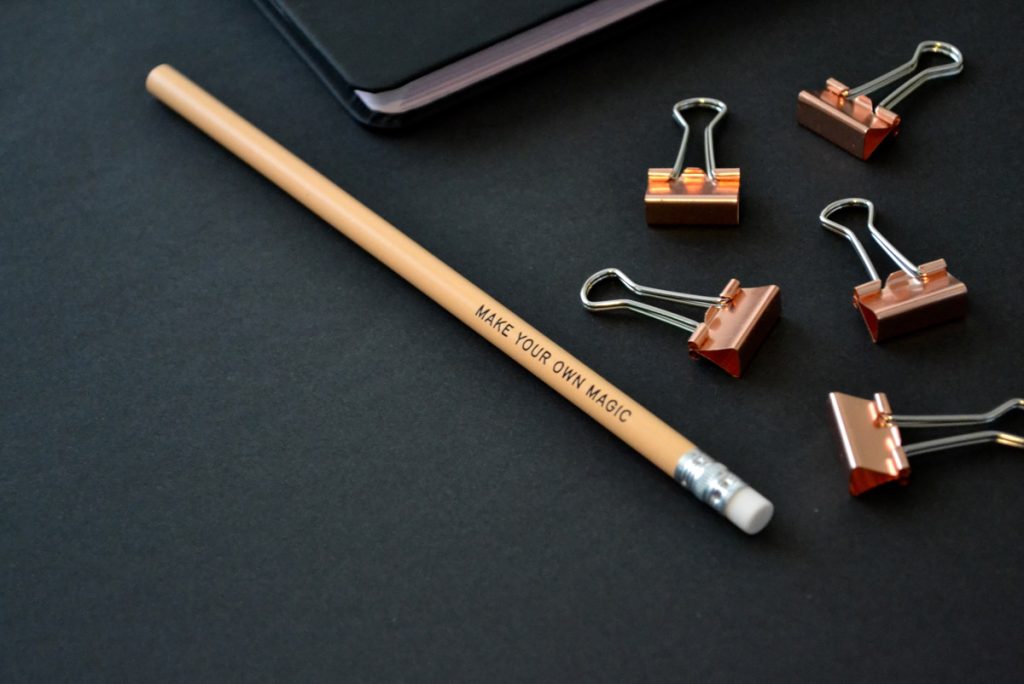
Colored Card
It creases less than paper, and you have the added advantage of creating photos that look different to the rest. Plus, you don’t have to worry about editing your white background to stop them looking grey!
Click to download:
Tips for using fake flatlay backgrounds
-
- Make sure there are no tell-tale corners of your actual surface at the edges or corners of your photos. You can always crop them out later if you mess up, but be sure to check for them on every picture!
-
- Use something heavy to weigh down your surface at the edges to keep it nice and flat. This is particularly handy for backdrops that definitely shouldn’t have waves or wrinkles, like floorboards or marble.
- Overlay backgrounds partially or fully on each other, e.g. handmade paper on colored card. You can use busy backgrounds without them being too overwhelming this way, or alter colors of more transparent papers.
Over to you! Give it a try, and tell us how you get on.
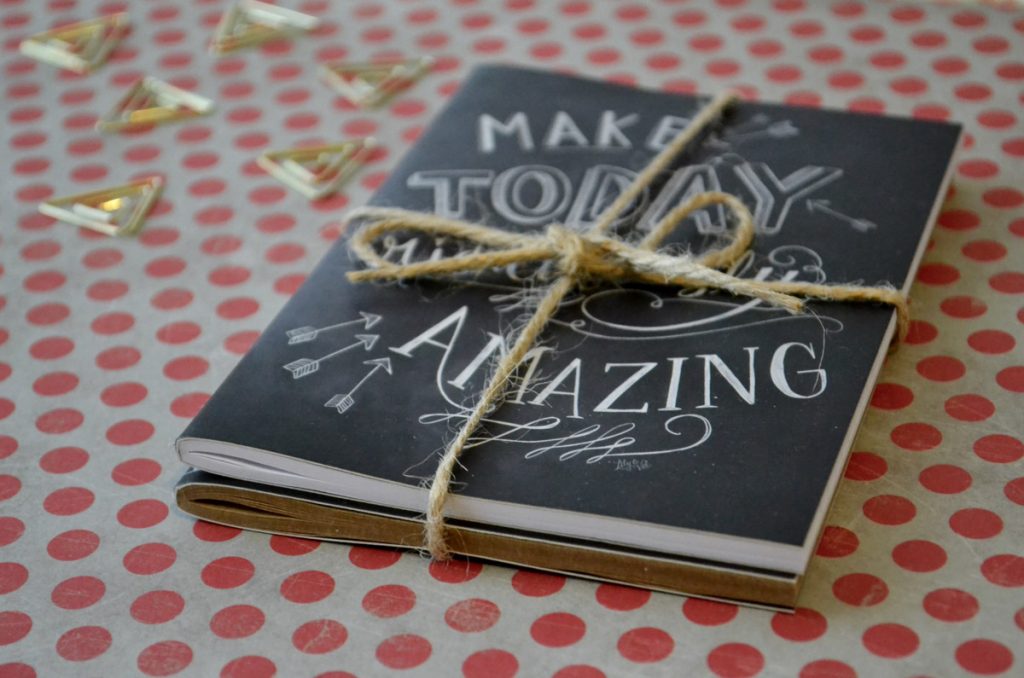
Pin for later:





Heather
This is very helpful. I struggle with flatlay photo’s, I love the ideal of vinyl or wallpaper. I’d not thought of those, I’ve been using fabric and it’s always wrinkled so I have to iron each time I plan to take pictures. Great suggestions!
Jenni
I’ve not tried fabric but that does sound like a hassle! I’m glad you found it helpful Heather 🙂
Amellia Mae
Great tips, thanks, I’ve been feeling a bit lacking in inspiration recently so this is perfect ??
Jenni
Thanks Amellia, glad you enjoyed it!
Jaya Avendel
Love that behind the scenes shot! I struggle with flatlay photography, so this gave me a better idea of what I should be doing.